Magnetic Particle Testing
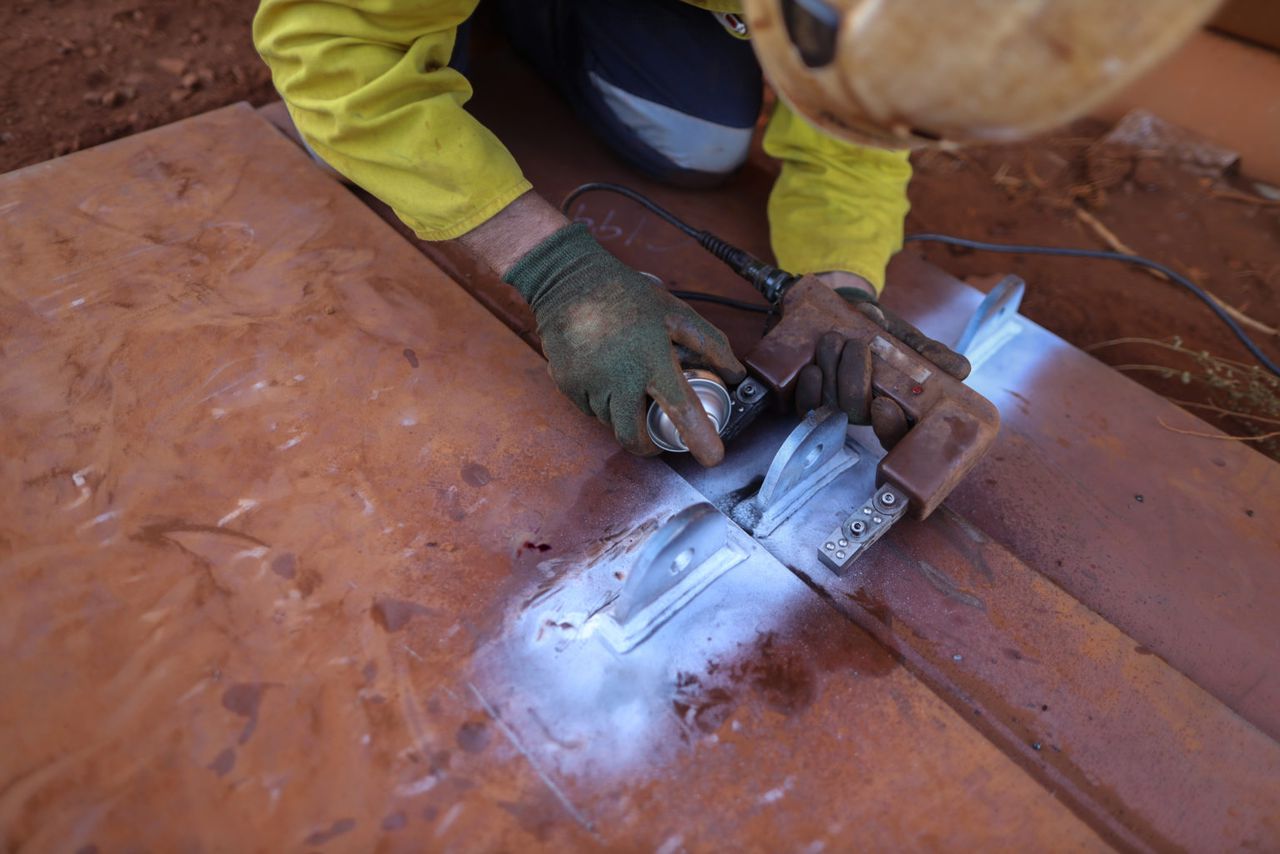
The magnetic particle testing method may be applied to detect cracks and other discontinuities on or near the surfaces of ferromagnetic and electrically conductive materials. Magnetic particle examination techniques thus allow the detection of surface breaking cracks in steel objects of complex geometry, which typically is a challenge for RT methods. The sensitivity is greatest for surface discontinuities and diminishes rapidly with increasing depth of subsurface discontinuities below the surface. Typical types of discontinuities that can be detected by this method are cracks, seams, laps and cold shuts.
ICS provides NDT technicians, certified to ASNT Level 2 or 3 and to ISO 9712, with extensive experience in several magnetic particle techniques.
Dye Penetrant Testing
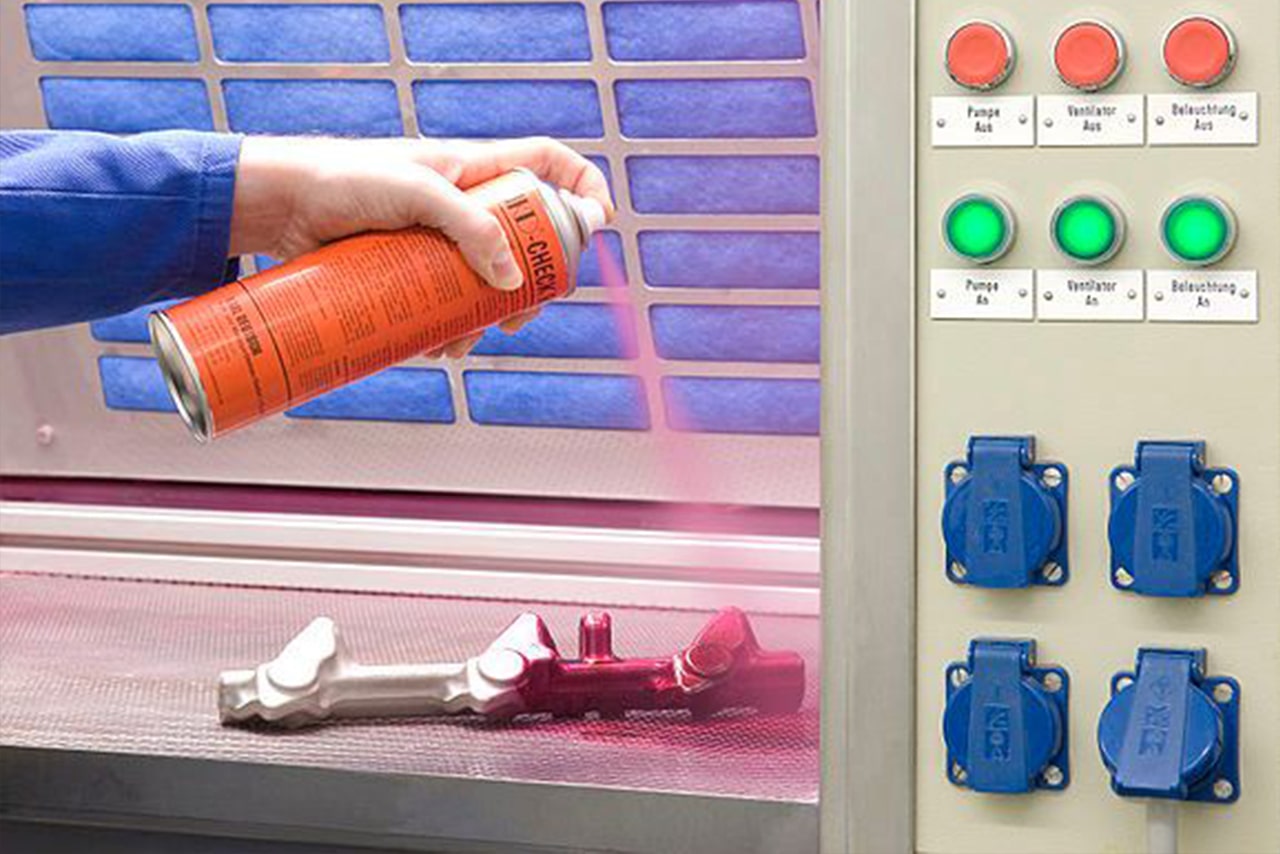
The liquid penetrant examination method is an effective means for detecting discontinuities which are open to the surface of nonporous metals and other materials such as plastics, glass, and ceramics. Typical discontinuities detectable by this method are cracks, seams, laps, cold shuts, laminations, and porosity.
The liquid penetrant contains either a coloured dye easily seen in white light, or a fluorescent dye visible under black (ultraviolet) light. The penetrant is applied by dipping, spraying, brushing, or flowing. After penetrant application, a sufficient time (dwell time) is provided to permit the penetrant to permeate the flaw.
ICS provides NDT technicians, certified to ASNT Level 2 or 3 and to ISO 9712, with extensive experience in several penetrant testing techniques.
Radiographic Testing
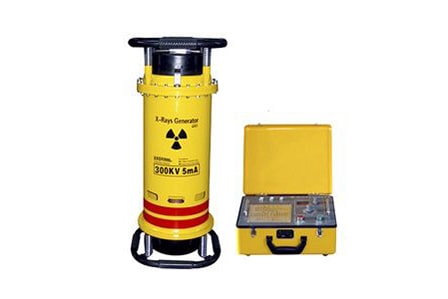
Radiographic Testing (RT) is a non-destructive testing (NDT) method which uses either x-rays or gamma rays to examine the internal structure of manufactured components identifying any flaws or defects.
In Radiography Testing the test-part is placed between the radiation source and film (or detector). The material density and thickness differences of the test-part will attenuate (i.e. reduce) the penetrating radiation through interaction processes involving scattering and/or absorption. The differences in absorption are then recorded on film(s) or through an electronic means. In industrial radiography there are several imaging methods available, techniques to display the final image, i.e. Film Radiography, Real Time Radiography (RTR), Computed Tomography (CT), Digital Radiography (DR), and Computed Radiography (CR).
ICS provides NDT technicians, certified to ASNT Level 2 or 3 and to ISO 9712, with extensive experience in several radiographic testing techniques.
Ultrasonic Testing
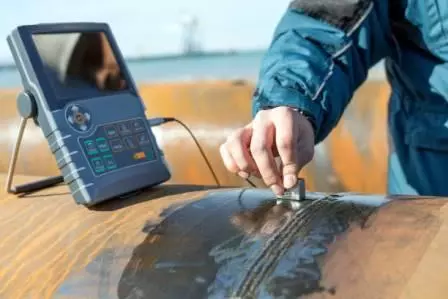
Ultrasonic Testing (UT) is a non-destructive testing (NDT) method which uses high frequency sound energy to conduct examinations and make measurements. Ultrasonic inspection can be used for flaw detection/evaluation, dimensional measurements, material characterization, and more.
Ultrasonic Inspection is a very useful and versatile NDT method. It is sensitive to both surface and subsurface discontinuities. The depth of penetration for flaw detection or measurement is superior to other NDT methods. It is highly accurate in determining reflector position and estimating size and shape.
ICS provides NDT technicians, certified to ASNT Level 2 or 3 and to ISO 9712, with extensive experience in several ultrasonic testing techniques.
Leak Testing
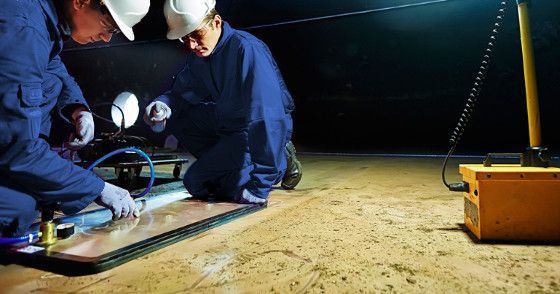
Leak Testing (LT) is a non-destructive testing (NDT) method. In leak testing, inspectors use pressure to identify the presence of defects in an object that are causing leaks.
When substances leak out of a container they flow from where the pressure is higher pressure to where it is lower. Leak testing leverages this phenomenon, using pressure to generate flow toward lower pressure—that is, the location of leaks—while carefully monitoring that flow.
ICS provides NDT technicians, certified to ASNT Level 2 or 3 and to ISO 9712, with extensive experience in vacuum box leak testing as well as with other leak testing techniques.
Visual Testing
Visual Testing (VT) is a non-destructive testing (NDT) method. Visual testing is the observation of a test object, either directly with the eyes or indirectly using optical instruments, by an inspector to evaluate the presence of surface anomalies and the object’s conformance to specification. Visual testing should be the first nondestructive test method applied to an item.
ICS provides NDT technicians, certified to ASNT Level 2 or 3 and to ISO 9712, with extensive experience in visual testing techniques.
Eddy Current Testing
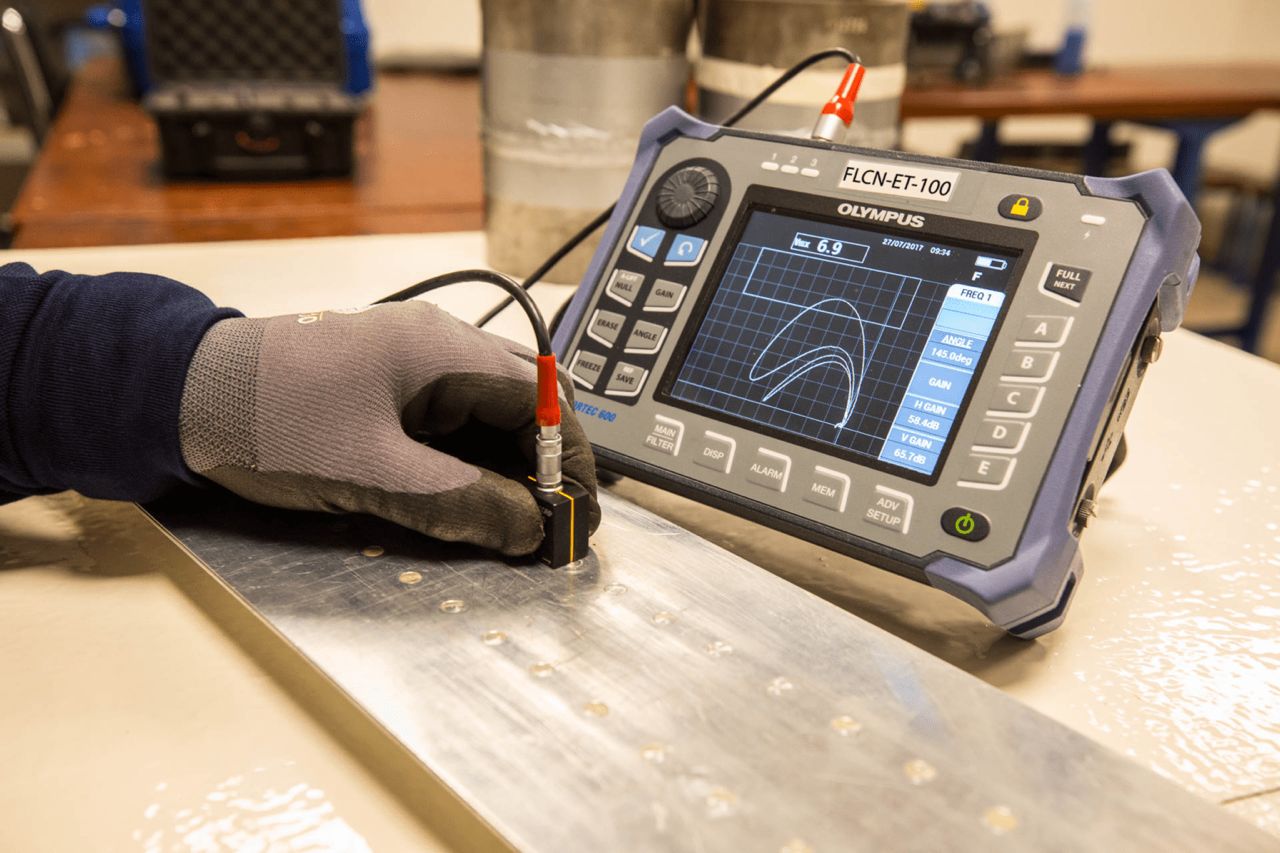
Eddy Current Testing (ET) is a non-destructive testing (NDT) method. Eddy current techniques of nondestructive testing rely on the principles of magnetic induction to interrogate the materials under test. Eddy current testing is based on the fact that, when a coil excited by an alternating current is brought close to a material, the terminal impedance of the coil changes. The change is associated with the fact that the primary field set up by the eddy current coil induces eddy currents within the electrically conducting specimen.
ICS provides NDT technicians, certified to ASNT Level 2 or 3 and to ISO 9712, with extensive experience in eddy current testing techniques.

